
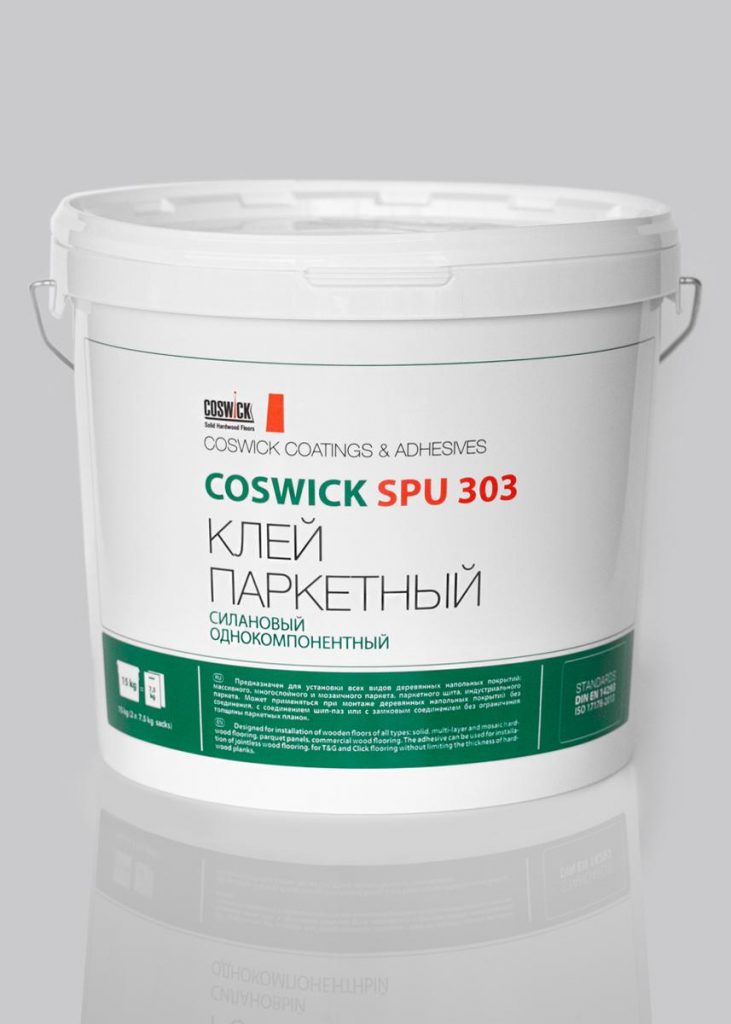
COSWICK SPU 303 1-component silane flooring adhesive
BENEFITS:
- Ready to use, does not require preparation or stirring;
- Can be easily levelled with a trowel, retains trowel pattern;
- Does not contain solvent, odourless;
- Highly adhesive, suitable for any base, does not require priming of the base;
- Fast hardening (flooring can be sanded in 12 hours);
- Moisture-resistant, provides an additional base moisture barrier;
- Provides perfect sound and vibration insulation;
- High shear strength, good stress compensation of solid hardwood flooring in humidity changing conditions;
- Does not lose its elastic properties in time and temperature change;
- Can be used over underfloor heating systems.
Technical data
| Product | COSWICK SPU 303, one-component silane flooring adhesive |
|---|---|
| Reference | 4670-030030 |
| Category | Materials for glue-down hardwood flooring installation |
| Packaging | 15 kg bucket containing two 7.5 kg bags |
| Consumption | Approximately 800–1300 g/m², depending on the trowel and installation |
| Colour | Yellow-beige paste |
| Ready for use | Yes; no mixing or dilution required |
| Shelf life | 12 months when stored as directed |
| Standards | ТУ BY 101040134.012-2024, DIN EN 14293, ISO 17178 |
Adhesive performance
| Density | Approximately 1500 kg/m³ |
|---|---|
| Hardness | Approximately 60 Shore |
| Film formation | About 60 minutes at 20 °C |
| Walking time | About 8 hours at 23 °C and 50% relative humidity |
| Sanding time | About 12 hours at 23 °C and 50% relative humidity |
| Full cure | About 7 days at 23 °C and 50% relative humidity |
| Application temperature | From +5 °C to +25 °C |
| Shear and tensile strength | Approximately 1.7 MPa each at 23 °C and 50% relative humidity |
| Elongation at break | Approximately 100% at 23 °C and 50% relative humidity |
These figures refer to the conditions stated in the technical data sheet. Check the current PDF before specifying the product for a project.
Description and application
COSWICK SPU 303 is an elastic silane adhesive for bonding solid, engineered, mosaic and other wood flooring. It can be used with unfinished or factory-finished boards, including wood floors installed over suitable underfloor heating systems.
The adhesive comes ready to apply. It spreads with a notched trowel, cures relatively quickly and helps absorb movement in wood flooring. Its moisture resistance also adds protection at the subfloor interface.
Suitable subfloors
Prepared concrete, cement or calcium sulphate screeds, ceramic tile, plywood, chipboard, timber boards and suitable synthetic or cork underlays are among the bases listed by the manufacturer. The base must be sound, level, dry and free from dust, grease, paint and weak coatings. Follow the current technical sheet for moisture and preparation requirements.
Application steps
 Open the bucket and remove the inner covering and any film that has formed on the adhesive.
- Spread enough adhesive for roughly two or three boards. Hold the notched trowel upright and distribute the adhesive evenly across the base.
- Set the flooring boards into the wet adhesive and press them down. Check coverage beneath a board during installation and adjust the technique if needed.
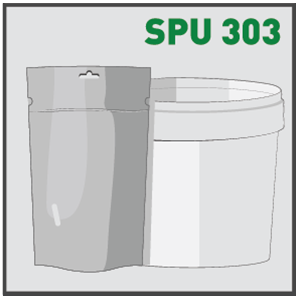 Open the bucket and remove the inner covering and any film that has formed on the adhesive.
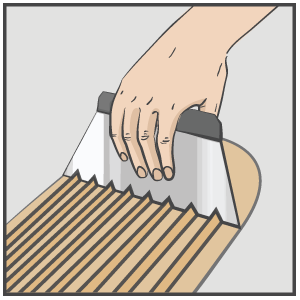 Spread enough adhesive for roughly two or three boards. Hold the notched trowel upright and distribute the adhesive evenly across the base.
 Set the flooring boards into the wet adhesive and press them down. Check coverage beneath a board during installation and adjust the technique if needed.
Install boards within the adhesive’s working time. Remove adhesive from the finished face promptly, and close the container tightly when taking a break. Clean tools before the adhesive hardens. Consult the current service manual for the complete procedure.
Safety and storage
Use appropriate protective equipment and ventilation. Keep the product away from heat and ignition sources. Store it in a closed container in a ventilated area at the temperature specified in the current documentation. Follow the safety data sheet for handling, first aid and disposal instructions.